
How To Make Win Win Magnets
I have some old business cards left over, and I’m too darned stingy to just throw them away. My sister and my niece made me some fridge magnets, and while I was admiring them, a thought popped into my head. Hey! I could make some cute magnets out of my business cards! It took me almost no time to make a dozen of them, and didn’t cost very much, and now I’ve gotten rid of some old business cards that were just taking up space. That’s what I call a Win Win! And then I thought: Wow! What a great thing to do with lots of the swag that I’ve gotten. I mean, I hardly read paperbacks anymore, so I could recycle all those great bookmarks I’ve picked up at conventions that are too nice to throw away. Oh, and maybe my mom would like some magnets with the grandkids’ pictures! Or those Christmas cards I keep saving but never do anything with could be great seasonal magnets! And the more I thought, the more hooked I became on this quick and easy craft. And, being a nice, generous person, I thought I’d share how I did it.

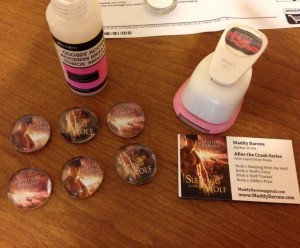
Gather supplies. I used the following:
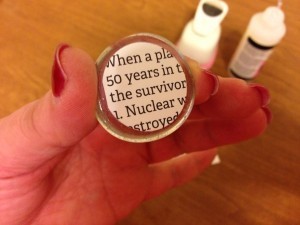
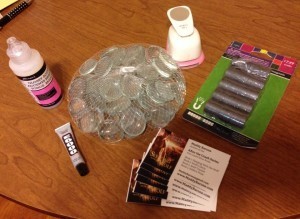 Glass bubbles.
I don’t actually know what these are called, but they are glass round things flat on one side and rounded on the other. You can get them in the floral section in the craft store, or in the mosaic making section. Mine are about 1 inch in diameter and about a quarter of an inch tall. Mine cost $2.99 for a 2 pound bag. You can get something like them for a buck at the dollar store. Or you can buy square glass tiles for a bit more.
A clear adhesive to glue the picture onto the bubble.
I looked at my glue supplies at home, and considered the Mod Podge, but it was pretty thick and old. I picked up some “Glossy Accents” at the craft store for $5.99. I couldn’t find Diamond Glaze, which is what others have used.
Magnets
I bought a 48 count pack of 3/4 inch round magnets for $7.99.
Glue
A good, strong glue is what you want here. I already had some E6000, but Goop would be fine, or whatever you like.
Pictures
Anything you want. Scan and print photographs. Cut out pieces of pretty wrapping paper, old Christmas cards, Valentine’s cards, paper swag from Romance Conventions like bookmarks, trading cards, and postcards, or whatever you want.
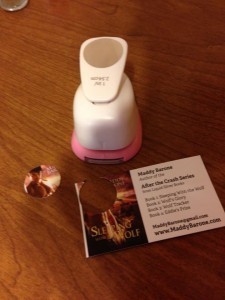
Hole Punch
This actually optional. I already had a 1 inch round hole punch from my scrap booking days. A pair of scissors would work just fine. If you decide to buy one it would cost under $10.00.
Directions:
1. Clean the glass bubbles to be sure there’s no lint or dust on them.
2. Cut out your paper. Should be a hair smaller than the flat side of the glass bubble. Doesn’t have to be exact. The glass isn’t always a perfect circle.
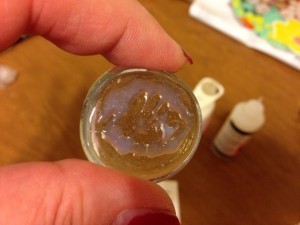
3. Smear a small amount of adhesive to the flat side of the bubble.
4. Place the paper on flat side of bubble, picture side to glass, and gently move it around to be sure the adhesive coats all parts of the paper. Smooth it flat to get any air bubble out. Let dry an hour or so, until it is completely dry.
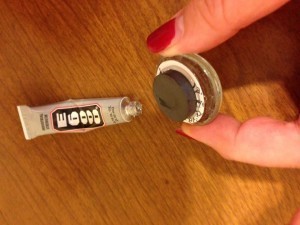
5. Squirt a pea sized dollop of the strong glue to back of picture. Press magnet firmly into the glue. Set aside to dry.
Done! See how easy that is? Unique and fun gifts that take very little time and very little money. Even if you have to buy every item needed, including the hole punch, and pay to have old photos printed out, I think the magnets come out to about $0.49 each. But watch for sales and clip coupons, and it’s more like $0.28 each. A set of 6 would be a great stocking stuffer gift and could be tailored to the recipient. Know a quilter? Know a cat lover? This is a perfect, easy gift with a quirky, personal touch that won’t take weeks to make or break your budget. That’s why I call these Win Win Magnets.
Leave a Reply

3 Responses to How To Make Win Win Magnets